Cleanup Tips

How to Clean the Garbage Disposal: A Complete Home Maintenance Guide

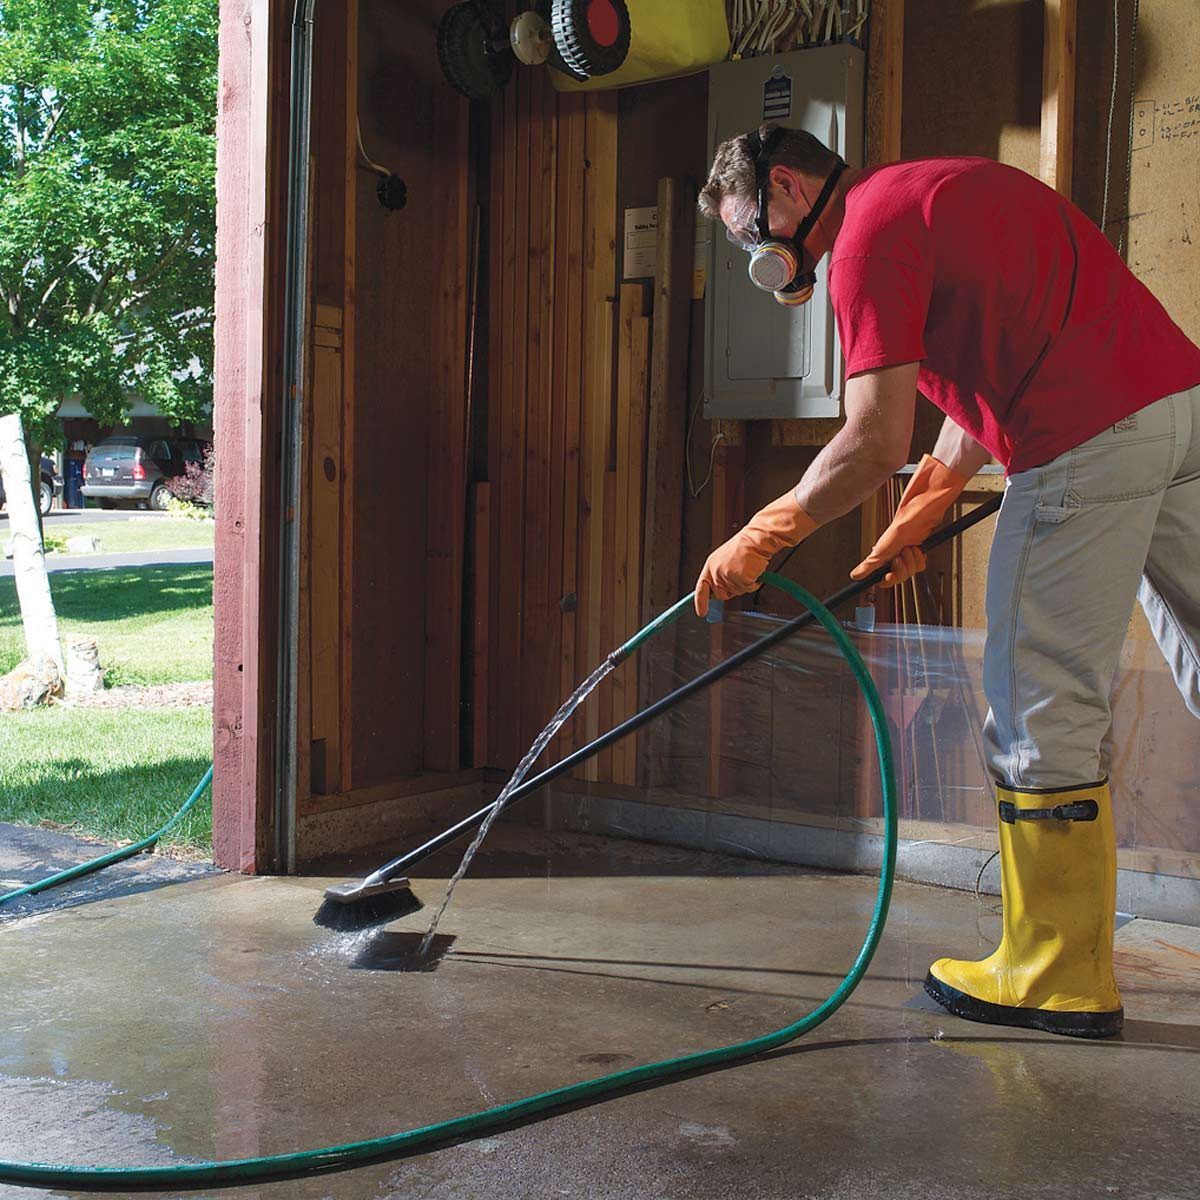
Garbage disposals are one of the most used — and most overlooked — appliances in modern homes. While most people think of them as simple kitchen tools, they are actually part of your broader plumbing and waste management system. When not maintained properly, they can lead to unpleasant odors, bacterial growth, clogged pipes, and even long-term drainage damage. If you’ve ever searched for how to clean the garbage disposal you’re not alone. Homeowners frequently deal with sink smells, slow draining water, and strange noises coming from the disposal unit. The good news is that proper cleaning is simple, affordable, and doesn’t require special equipment. Understanding How a Garbage Disposal Works Before cleaning, it helps to understand what you’re cleaning. A garbage disposal is mounted under your sink and connects directly to your plumbing. Contrary to common belief, it does not have sharp blades. Instead, it uses rotating impellers to grind food waste against a stationary grinding ring. The particles are then flushed through your pipes. Because moisture and food particles constantly pass through this chamber, residue builds up over time. Small pieces of food stick to: The grinding chamber walls The rubber splash guard The underside of the sink drain The drainpipe itself This buildup is what causes odor and bacteria growth. Why Garbage Disposals Develop Bad Smells If you’re trying to figure out how to clean the garbage disposal smell, it’s important to understand where that odor is coming from. Common causes include: Trapped food debris Grease buildup Mold growth Bacteria formation Clogged drain lines Warm, damp environments create the perfect conditions for bacteria to grow. Even if your sink looks clean on the surface, hidden buildup under the rubber splash guard or inside the drain line can produce strong, unpleasant odors. That’s why properly and thoroughly removing junk — rather than simply rinsing it away — is essential for keeping your kitchen and plumbing system in good condition. You May Also Read:How to Get Free Junk Removal Safety Guidelines Before Cleaning Garbage disposals are electrical appliances connected to water systems. Safety matters. Before starting: Turn off the disposal switch. Unplug the unit or switch off the breaker. Never insert your hand inside the chamber. Use pliers or tongs to remove visible debris. Avoid harsh chemical drain cleaners. Chemical cleaners may seem effective, but they can corrode metal parts and damage pipes. What You Need for Proper Cleaning Most effective cleaning solutions are natural and already in your home: Baking soda White vinegar Ice cubes Rock salt Dish soap Lemon or citrus peels A small scrub brush These methods are widely recommended by plumbing professionals because they clean without damaging internal components. How to Clean the Garbage Disposal (Standard Cleaning Method) Here is a safe, complete cleaning process. Step 1: Flush With Hot Water Run hot water for 30 seconds to loosen grease and residue. Step 2: Baking Soda and Vinegar Treatment This is one of the most effective methods for how to clean out a garbage disposal naturally. Pour ½ cup baking soda into the drain. Add 1 cup white vinegar. Let the mixture fizz for 10–15 minutes. Rinse with boiling water. This reaction breaks down organic material and neutralizes odor-causing bacteria Step 3: Ice and Salt Scrub If you want a deeper internal cleaning: Add 2 cups of ice cubes. Add 1 cup rock salt. Run disposal with cold water for 30 seconds. The ice dislodges debris while salt scrubs internal surfaces. Step 4: Clean the Splash Guard Many people searching for how to clean a smelly garbage disposal overlook this step. Turn the rubber guard inside out and scrub the underside thoroughly with dish soap and a brush. Rinse well. This area traps the most bacteria. Step 5: Freshen With Citrus Grind lemon or orange peels with cold water running. This helps freshen the unit naturally. Deep Cleaning for Persistent Odors If smells remain, you may need advanced cleaning. Disconnect power fully. Inspect the chamber with a flashlight. Remove trapped debris with pliers. Clean deeper using an enzyme-based disposal cleaner. Persistent odor can also mean buildup in the drainpipe, not just the disposal unit itself. If you’re repeatedly asking, “why does my disposal still smell after cleaning?” — the problem may extend into your plumbing. Garbage Disposal Maintenance Beyond the Kitchen Cleaning isn’t just about removing smells. It protects your entire plumbing system and helps prevent long-term damage that can become costly over time. Improper use can cause: Pipe blockages Sewer line stress Grease buildup Water backups Regular maintenance supports overall home sanitation and keeps waste flowing efficiently through your drainage system. At Junk Masterz , we often remind homeowners that small preventative steps today can help avoid major plumbing and waste issues tomorrow. In households with high food waste output, consistent care and responsible disposal habits become even more important for maintaining a safe and functional home environment. What NOT to Put in a Garbage Disposal To protect your plumbing system, avoid: Grease and cooking oil Coffee grounds Eggshells Pasta and rice Fibrous vegetables Bones Large food scraps These materials expand, harden, or wrap around internal components. How Often Should You Clean a Garbage Disposal? For optimal performance: Weekly: Light cleaning Monthly: Deep cleaning Heavy-use homes: Twice monthly If your household cooks frequently or produces large amounts of food waste, maintenance should be more frequent. Signs Your Garbage Disposal Needs Immediate Attention Strong odor Slow drainage Unusual grinding noise Humming without spinning Frequent resets Ignoring these signs can lead to plumbing repairs. Environmental and Waste Management Considerations Garbage disposals are convenient, but they should not replace responsible waste management. Consider: Composting vegetable scraps Reducing food waste Avoiding overuse Disposing of grease properly Proper disposal habits reduce strain on municipal sewer systems. Professional Junk Removal & Waste Management Services by Junkmasterz If your needs go beyond basic sink maintenance and routine cleaning, it may be time to consider professional support.Junkmasterz  offers reliable and eco-conscious residential junk removal services for homeowners who need help with appliance removal, renovation

How to Get Rid of an Old TV – Complete Guide

Old televisions are more than just outdated gadgets—they can be bulky, take up valuable space, collect dust, and even pose safety hazards in your home. With the rapid advancement of technology, many households replace TVs every few years, leaving behind old CRTs, flat screens, and even broken sets. If you’ve ever wondered how to get rid of an old TV or how to get rid of a broken TV safely, you’re not alone. This comprehensive guide will walk you through step-by-step methods to safely dispose of an old TV, including tips for preparing it for recycling, maximizing its resale value, and exploring creative ways to repurpose electronics. By following these methods, you can protect the environment, comply with legal regulations, and even help someone in need. Whether you’re asking, “how do I get rid of a dead TV?” or “what’s the safest way to recycle an old television?”, this guide covers all the options to ensure your TV is disposed of responsibly and effectively. Why Throwing a TV in the Trash Is a Bad Idea   It might seem simple to toss a TV in the garbage, but this is rarely a safe option. Older TVs, especially CRT models, contain hazardous materials like lead, mercury, and other toxic metals. Disposing of them in landfills can harm the environment, contaminate soil and water, and may even violate local disposal regulations. Here’s a breakdown: CRT TVs: Older tube models have heavy metals and should never go in regular trash. Flat-screen TVs: LED or LCD TVs might be accepted at some recycling programs, but you must confirm before disposal. Broken TVs: Non-functional TVs still contain dangerous components and must be handled carefully. Throwing TVs in the trash is unsafe, often illegal, and environmentally damaging. Instead, explore recycling, donating, selling, or repurposing. How to Recycle Your Old or Broken TV Recycling is one of the most responsible ways to dispose of a television. It helps recover valuable materials like copper, glass, and plastics while keeping toxic substances out of the environment. Steps for Safe TV Recycling: Locate certified recyclers – Search for “TV recycling near me” or check your city’s official waste management website. Many municipalities have drop-off centers or special e-waste collection days. Prepare your TV – Disconnect cables, remove accessories, and package it safely for transport. Drop off or schedule a pickup – Some recycling facilities or electronics stores provide curbside pickup. Get proof of recycling – Request a receipt or certificate to confirm responsible disposal. Where You Can Recycle Your TV: Local e-waste centers – Municipal or private facilities that specialize in electronics. Retail programs – Stores like Best Buy, Staples, and other electronics retailers often accept certain TVs for recycling. Community events – Many cities host free collection events for hazardous electronics. Recycling not only protects the environment but also prevents illegal dumping and promotes a circular economy. Donation Options for Old TVs If your TV still works, donating is a great way to give it a second life and help someone in need. Who Accepts Donations: Schools and libraries – Many educational institutions accept functional TVs for classrooms or media centers. Charities and nonprofits – Organizations like Goodwill, Salvation Army, and local community centers often take working TVs. Community programs – Nonprofits sometimes provide electronics to families who cannot afford new devices. Tips for Donating: Clean the TV thoroughly to make it look appealing. Include the remote and all necessary cables. Reset smart TVs to factory settings to remove personal information. Donating ensures your TV doesn’t contribute to waste and helps others enjoy a functioning device. Many people make the mistake of tossing old electronics in the trash, unaware that TVs contain hazardous materials such as lead, mercury, and other heavy metals. Improper disposal not only harms the environment but can also violate local laws and result in fines. Selling Your Old Television Selling your old TV is another excellent option, especially if it is still operational. This can help you earn some extra money while keeping the device out of landfills. Ways to Sell: Online marketplaces – Platforms like Facebook Marketplace, Craigslist, and eBay allow local or national sales. Trade-in programs – Some electronics stores offer trade-in credit toward new purchases. Selling Tips: Take high-quality photos and highlight the TV’s condition. Include original accessories and packaging if available. Provide clear information about screen size, model, and functionality. Selling is a win-win: you earn money, and someone else gets a usable TV without buying new electronics. How to Dispose of a Broken TV Safely Broken TVs require extra caution. CRTs, in particular, contain leaded glass that can be hazardous if the screen shatters. Flat screens may contain small amounts of mercury or other toxic substances. Safe Disposal Steps: Handle with care – Wear gloves and avoid breaking the screen. Find certified recyclers – Only specialized e-waste facilities can safely dismantle broken TVs. Do not dismantle yourself – Attempting DIY removal of components can be dangerous. Many cities provide special collection days for broken electronics. Professional companies offering residential pickup for broken TVs. Always check your local regulations before disposal. Creative Ways to Repurpose Old TVs Not all old TVs need to be recycled or thrown away. With a little creativity, they can be turned into unique projects. Repurposing Ideas: Furniture or storage – Convert a CRT TV into a cabinet, shelf, or storage box. Aquariums or planters – Hollowed-out TV shells can be transformed into stylish home decor. Refurbishing – Electronics repair shops may repair and resell old TVs. Repurposing helps reduce e-waste while giving your old TV a new, functional purpose. Extra Tips for Preparing Your TV for Disposal Proper preparation ensures safe handling, prevents damage, and maximizes potential reuse or resale. Remove batteries from remotes to avoid leaks and damage. Detach cords and power cables for easier transport. Protect the screen with padding to prevent cracks or breakage. Reset smart TVs to erase all personal information.   Hire certified Companies or e-waste professionals for large, broken, or hazardous TVs

How to Keep a Garage Clean: A Simple and Effective Maintenance System

A messy garage can quickly turn into a dumping ground for tools, boxes, seasonal decorations, and unused items. Over time, clutter builds up, making it hard to find what you need and reducing the functionality of your space. If you’re wondering how to keep a garage clean, the good news is that with the right system and simple habits, you can maintain a neat and organized garage all year round. Keeping your garage clean isn’t just about appearance — it improves safety, maximizes storage space, and makes everyday tasks easier. By using smart storage solutions, decluttering regularly, and following a basic cleaning routine, you can transform your garage into a well-organized and efficient area. In this guide, you’ll learn practical tips and easy strategies to help you maintain a clutter-free garage without feeling overwhelmed. Why Garages Get Dirty Fast Garages are unique compared to other parts of a home because they serve multiple purposes. They are not just for parking vehicles but also for storage, hobbies, and sometimes even as a workshop. Several factors contribute to why garages become messy quickly: High Traffic Areas: Garages often act as the main entry for family members or pets, bringing in dirt, dust, and debris from outside. Clutter Accumulation: Many homeowners use garages as storage for items they don’t need daily, which leads to piles of boxes, old furniture, and unused equipment. Limited Cleaning Routines: Garages usually receive less cleaning attention than kitchens or living rooms. Dust, cobwebs, and grime accumulate over time. Seasonal Changes: Leaves, mud, and rainwater can make a garage floor messy, especially in the fall and winter. Understanding why your garage gets dirty helps in designing a system that keeps it clean and organized for the long term. The 5-Part Garage Cleanliness System Keeping your garage clean is easy with a structured approach. At Junk Masterz, we recommend the 5-Part Garage Cleanliness System, which focuses on decluttering, deep cleaning, organizing, maintaining, and monitoring. 1. Declutter Remove items you no longer need and sort them into keep, donate, recycle, or discard. This clears space and helps prioritize what’s valuable. Seasonal items, old paint, and broken tools often pile up unnoticed. Tip: Dedicate a weekend and involve family to make decluttering quick and productive. 2. Deep Clean Sweep dust, mop floors, and clean walls, corners, and shelves. Pay attention to hidden spots like workbenches and window sills. Key tasks: Remove oil stains Sanitize workbenches Clean storage bins and windows A clean garage looks better and improves air quality. 3. Organize Maximize space and accessibility: Shelving units – small tools & supplies Wall hooks & pegboards – bikes & ladders Overhead racks – holiday or seasonal items Clear, labeled bins – easy access Create zones for tools, sports gear, and gardening supplies. Logical organization saves time and keeps your garage clutter-free. 4. Maintain Keep your garage functional with regular upkeep: Weekly: Sweep and return items Monthly: Wipe surfaces, check labels Seasonally: Deep clean, inspect storage Small, consistent maintenance prevents clutter from returning. 5. Monitor Regularly check for dirt, damage, moisture, or misplaced items. Watch for: Pests or rodents Water leaks or damp spots Damaged shelves or storage units Proactive monitoring keeps your garage in top shape and reduces the need for major cleanups. Garage Storage Ideas for a Clutter-Free Garage Maximizing your garage space requires creativity and smart solutions. Here are some of the best garage storage ideas: Shelving Units – Heavy-duty shelving can hold paint cans, toolboxes, and bins without taking up floor space. Wall Hooks & Pegboards – Keep frequently used tools within reach and hang items like ladders and bicycles. Overhead Storage Racks – Great for seasonal items that aren’t used year-round. Clear Labeled Bins – Makes it easy to locate items quickly and maintain organization. Magnetic Strips & Tool Holders – Perfect for small hand tools, screws, and nails. These storage ideas not only reduce clutter but also create a more efficient and functional workspace. Step-by-Step Deep Clean How to Deep Clean Your Garage A deep clean is essential to turn a cluttered garage into a functional, clean space. Follow these steps: 1. Empty the Garage Remove all items and sort them into keep, donate, sell, or trash. This clears clutter and gives you space to clean thoroughly. 2. Dust and Sweep Dust shelves, corners, and ceiling edges. Sweep the entire floor, including under shelving, to remove dirt, debris, and cobwebs. 3. Clean Walls and Surfaces Wipe down walls, doors, and windows with mild detergent. Use a degreaser for oil or grease stains, especially in workshop areas. 4. Floor Cleaning Scrub the floor with a stiff brush and concrete-safe cleaner. Treat oil stains with baking soda or a commercial degreaser. Rinse and let dry completely before returning items. 5. Organize Tools and Storage Plan a layout using shelves, wall hooks, pegboards, and clear bins. Label bins for easy access to tools, seasonal items, or supplies. A smart layout keeps your garage functional and easy to maintain. Tip: Consider adding insulation to walls, doors, or ceilings. It regulates temperature, reduces moisture, and protects stored items while making the space more comfortable for work. Also Read: How to Insulate Of Garage Benefits of a Clean and Organized Garage Maintaining a clean garage offers several long-term advantages: Improved Safety – A clutter-free garage reduces tripping hazards and accidents. Better Storage – Maximizes space and keeps items protected from damage. Time Savings – Less time searching for tools or seasonal items. Increased Home Value – A well-organized garage adds appeal for potential buyers. Stress Reduction – A clean environment creates a sense of order and calm. A garage that’s easy to maintain adds value and convenience to your daily life. Tips for a Proper Garage Clean Out Cleaning out the garage can be overwhelming, but these tips make the process smoother and more efficient: 1. Start Small If your garage is extremely messy, begin with one section at a time. This approach makes the task manageable and less stressful. 2. Use

Color Palette